Welcome to another episode of the Mountain Bikes Apart podcast. In this episode, we’re discussing the mountain bike drivetrain, which like the name suggests, is what drives the bike forward! The drivetrain includes everything that the chain is connected to, as well as the shifters and cables that operate the derailleurs on the bike.
In recent years, we’ve seen some of the largest developments in MTB drivetrain history, so we thought we’d talk about some of these changes, the evolution of mountain bike gears and what options there are on the market.
Podcast: Play in new window | Download
Subscribe: RSS
What’s the drivetrain?
We kick off the show with an explanation. The drivetrain is everything that the bike’s chain is connected to. This therefore includes the cassette on the rear wheel, the rear mech which shifts the gears up and down the cassette, the chainset (or crankset) at the front, as well as the front mech if you have one.
For argument’s sake, we’ve also included the shifters for the front and rear mechs as well as the cables (or wires if you use electronic gears) in the drivetrain too. So, as you’ll see, it’s a critical part of the bike and one of the areas that can be modified and tinkered with the most.
Gear speeds and cassettes
Colin and I get into the subject with a discussion on cassettes, which partially dictate how many gears you have at your disposal. Even just a few years ago, mountain bikes typically had 9 gears at the back, and this was pretty standard across all brands and price brackets. Nowadays however, there’s much more choice and they have become far more advanced.
At the top end, with SRAM XX1 and Shimano XTR, we now have huge cassettes that range from a 50 tooth large cog right the way down to a 9 tooth cog, through a spread of 11 speed gears. The idea is that these cassettes are used with a single front chainring, which we get into a little later in the show. As we mention in the show, perhaps the most commonly seen speed now is 10, and they can be paired with a 3-ring, a double or a single chainring setup at the front for maximum compatibility.
Each speed uses a different width of chain, with 11-speed obviously being the narrowest to fit between the 11 cogs at the back.
Chainset setup
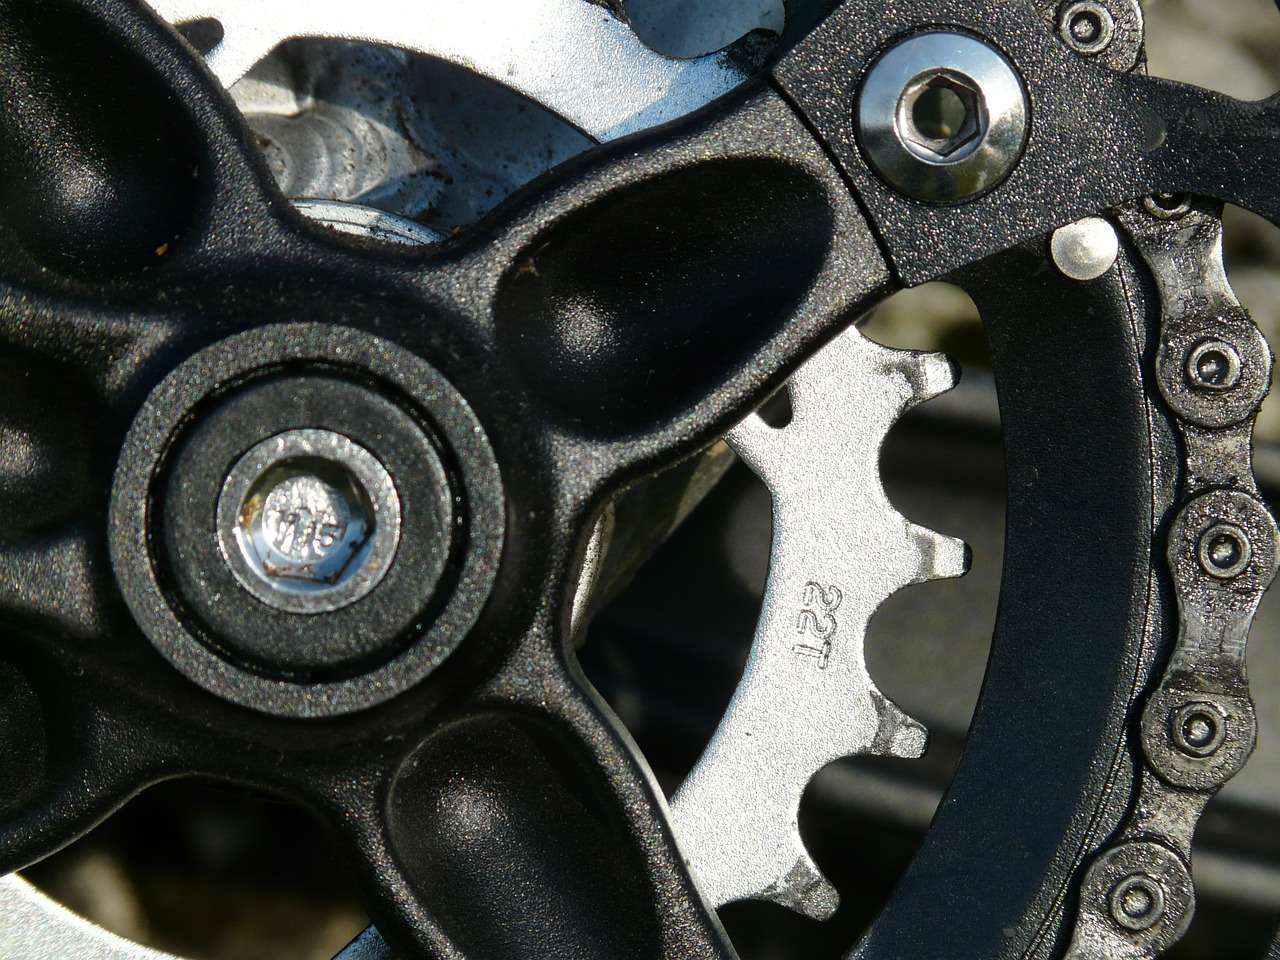
Moving towards the front of the bike, we talk about the crankset, which is another area that offers a lot of options. Essentially, you’ll be choosing between a single ring setup, 2-chainrings or a “double” setup, or the more traditional 3-rings that we’re used to seeing on the more budget bikes out there.
Single ring setups are the newest development in this area, and have seen the advent of new chainring technology when it comes to stopping the chain bouncing off on rough descents. These chainrings from the likes of Wolftooth Components use an alternating narrow and wide tooth profile, which holds the chain to the chainring. The benefits of running a system like this are plenty, with no need for a front mech, chain catcher or front shifter, and a more maintenance free, simple arrangement.
Double and triple cranksets, whilst not as simple or perhaps elegant, do offer the rider the biggest range of gears, allowing you to ride the steepest climbs at the correct cadence and to not run out of gears on particularly fast descents. You can use the same front mech for either a double or a triple set up by winding in the limit screws, or use a dedicated groupset from either SRAM or Shimano.
Additional drivetrain tips
Finally for this week, here are some extra tips that can help you put together the best drivetrain, or modify what you already have.
The first of these is to use a clutch-style derailleur if you’re upgrading to a single ring setup. These mechs use a switch or lever to lock the cage (the bit the hangs down and houses the two jockey wheels) so that it doesn’t move when the bike is clattering around off-road. They essentially stop the chain from slapping around, and thus help it to stay on the chainrings at the front.
Our other tip is to always carry a quick-link when out riding. This is a little two-piece device that sits in place of a regular chain link, and uses the pull of the chain to hold together. They can be ride-savers if your chain snaps on a ride, and can also make fitting a new chain a lot easier than having to use a chain tool to push a new pin into the chain.
Get in touch!
We’d really like to hear your feedback on the show and to get your questions in for an upcoming Q&A episode. You can let us know any thoughts and queries by email, or by getting in touch with myself or Colin on Twitter, where we’re @bytombell and @colinmcgray respectively.
We’ll see you on the next show!


Recent Comments